
Introduction: Nurturing Development Past the Seedling Stage
The process of transplanting seedlings is a significant step in the gardener’s path when young shoots begin to make the move from the comfortable space of seed trays to the open space that is the gardens or large containers. Although the process may seem difficult for novices mastering the process of successful seedling transplantation is vital to ensure the health and growth that your garden plants. In this article, we’ll go over the methods and tricks for planting seedlings with ease and care.
1. Timing is the key
Timing is a key factor in the success of seedling transplantation. As a rule of thumb seeds should be transferred outdoors or placed in larger containers after they’ve developed a robust root system, as well as several sets of leaves that are true. This usually happens when the seedlings are between approximately 4-6 weeks old. This is based on the type of plant and the growing conditions.
2. Start Seedlings
Before you transplant, you must prepare the seedlings in preparation for the transition. It is essential to give them a good soak on the day before transplanting to make sure they’re healthy and less susceptible to stress. If seedlings have roots bound or tightly packed into their containers, gently slit the roots to encourage expansion and avoid pot-bound plants.
3. Find the Perfect Location
Picking the best location for transplanting is vital to the growth of the seedlings. Select a location that gets sufficient sunlight and has a well-drained soil. Avoid areas that are prone to flooding or extreme temperature variations, because these could stress new seedlings that have been transplanted.
4. Dig Properly for Planting Holes
When you are transferring seedlings into your garden, make planting holes that are a little larger than the seedling’s rootball. Place seedlings in a way that is based on their maturing size and requirements for growth, making sure to provide enough sunlight and airflow to ensure optimal growth. When gardening in containers, select pots or containers that have enough drainage holes. Fill the pots with a premium potting mix.
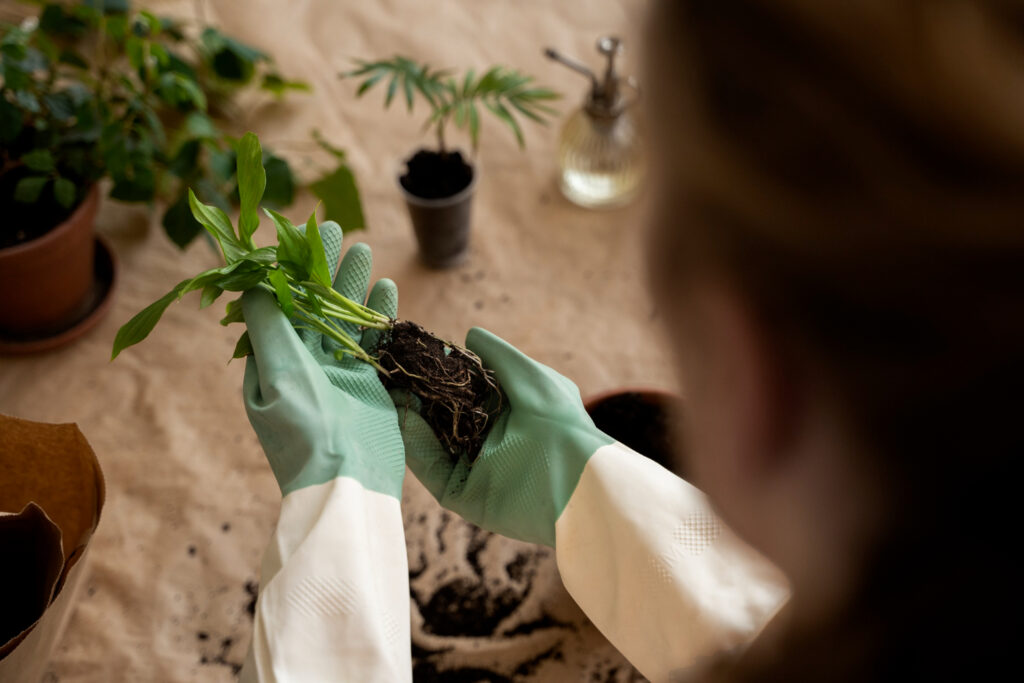
5. Take care when handling seedlings
Carefully handle seedlings throughout the process of transplanting to prevent damage to the delicate stems and roots. Take seedlings in your hands by their leaves, not their stems, since stems tend to be more prone to breakage and damage. Avoid transplanting seedlings during the most humid times of the day to minimize stress and shock to the transplant.
6. Mulch and Water
After transplanting, you should water the seedlings well to thoroughly settle in the ground around their root systems. This will give them the necessary hydration. Spread a layer of mulch around the seedlings to preserve water, control weeds, and maintain the temperature of the soil. Check soil moisture levels frequently and apply water when needed particularly during dry, hot conditions.
7. Give tender, loving care
Following transplantation, provide the seedlings with tender, loving care to aid them adapt to their new environment. Make sure that seedlings are protected from extreme weather conditions, such as strong winds severe rains, or extreme temperatures. Also, monitor their condition for indications of stress or diseases. Gradually expose seedlings conditions, by hardening them before transplanting. Then, gradually increase the amount of sunlight they are exposed to and elements outside for 7-10 days.
Conclusion: Cultivating Resilience, and Growth
The process of transferring seeds successfully requires patience, focus on the details, and a soft touch. If you follow these steps and suggestions, you will make sure that the transition is smooth for your young sprouts as they begin their path of discovery and growth in your garden or larger containers. If you take care of them and nurture them seeds will thrive providing beauty, bounty, and happiness for your outside space.
Have fun transplanting!
Checkout: Top Free Home Gardening Books